RECENT UPDATES
 |
|
|
 |
|
|
 |
|
|
 |
|
|
 |
|
|
 |
|
|
 |

How do I connect my P700 to a Mac Computer?
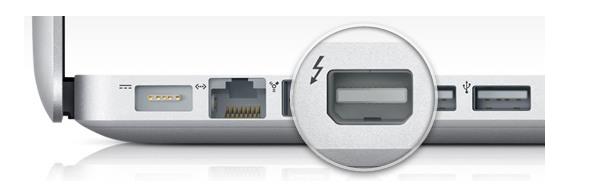
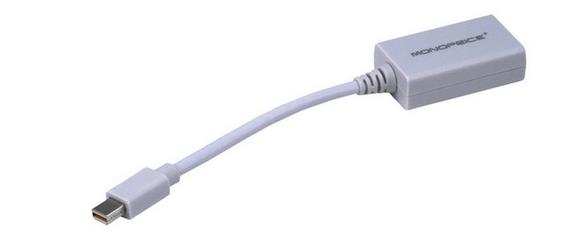
1. Take the lightning mini display (or Thunderbolt) port to HDMI adapter and connect the smaller end into the MacBook pro or air.
2. Take the HDMI cable and insert one end into the female port of the adapter.
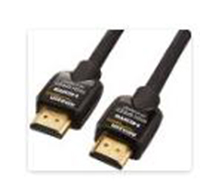

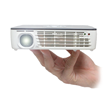
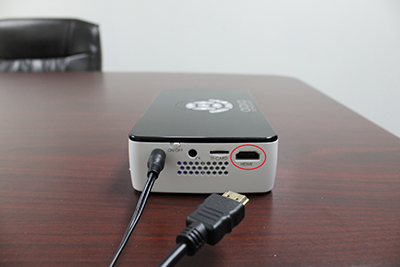
3. The other end of the HDMI cable is then inserted into the P700.
4. Open the System Preferences, and then select DISPLAYS. Click the small check box next to "Show displays in menu bar." This will allow you to quickly set up your displays when connecting to the projector from a simple menu bar drop down rather than have to open the System Panel.
5. If you plan to use "mirroring" (what you see on your laptop is what you see on the projector), you should select 1920x1080 or lower, as the display resolution of your internal monitor before starting (if possible). This should make the projector happy when you connect. Other resolutions may or may not work. If you are using PowerPoint or Keynote for your talk, you do not need to turn on mirroring, so the internal resolution can be anything you desire as the external and internal monitors display separate data in these programs.
6. When a second Monitor is connected, it should automatically redraw the internal monitor and add the new external monitor automatically. The mode in which it starts up in will be based on your last connection to a similar monitor. That means setting it up with an external monitor now should make the process go faster.
7. If your Mac did not detect the added monitor, you should select the Monitor drop-down in the menu bar and select "Detect Displays" to make it find the monitor. After that, the monitor should display. Once the monitor is connected, in the same menu drop-down, set the external display to 1200x800 (60 Hz). A confirmation dialog will appear on the external display (or both if mirroring is on), and you have 15 seconds to click "CONFIRM" to remain these settings. Click “CONFIRM” to lock in these settings.
8. If you wish to mirror your displays, again, drop down the display menu item, and select Mirror Displays. No confirmation is needed once this is done. You may have to change the display resolution again if there was a different previous setting, but this can quickly be done from the same menu drop down. Again, select 1280x800.
9. It is suggested that you turn off all Screen Savers and Power Saving settings, both of which can be found in the System Preferences. Also, it is suggested that you bring your power supply, as this will make your presentation go smoother by preventing the computer from going to sleep or blanking the display.
10. Testing: Sleep your machine with no monitor connected. Wake up the machine FULLY, and then attach your external monitor. It should immediately come up in the last known mode. If not, practice with the menu bar drop-down menu item for the monitors to be able to quickly switch to the proper modes.
11. When the monitor switch is switched to display your Mac on the projector, it should detect the display and switch to the last known setting. Again, if this does not happen, select DETECT DISPLAYS from the drop-down menu item to make this happen. If any settings come up wrong, they can quickly be changed with this drop-down menu selection.
12. When done, disconnect the external monitor. From the display menu drop down, you can reselect your desired display resolution.