RECENT UPDATES
 |
|
|
 |
|
|
 |
|
|
 |
|
|
 |
|
|
 |
|
|
 |

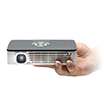
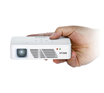
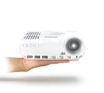
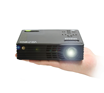
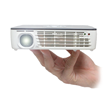
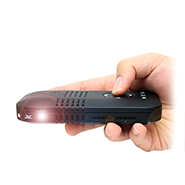
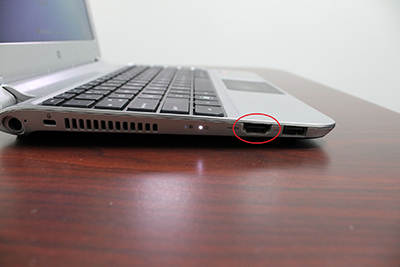
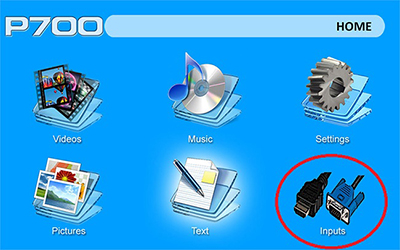
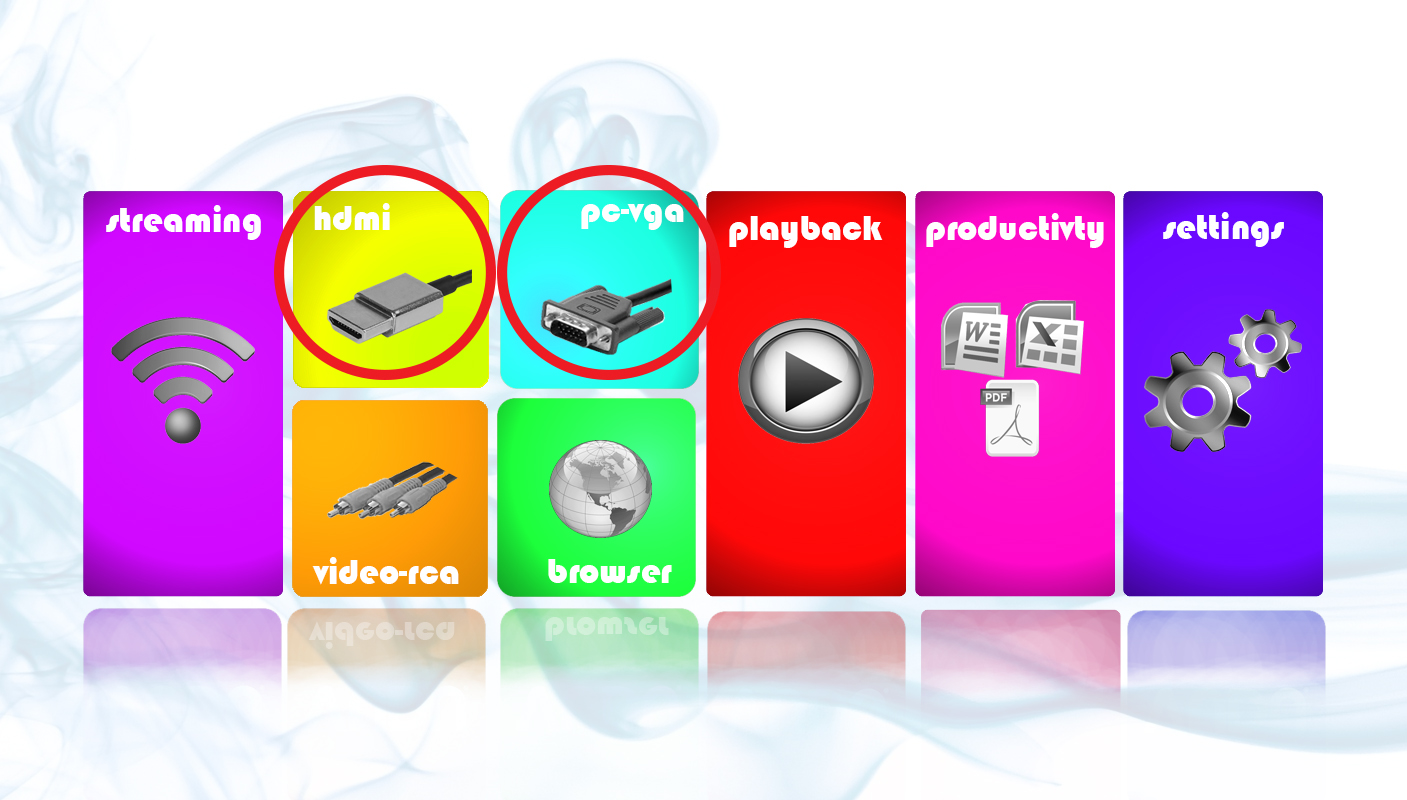
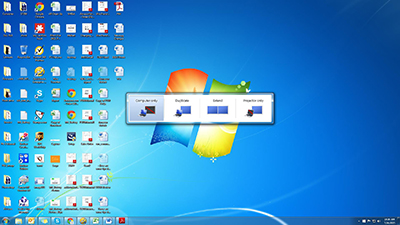
How do I connect my P700 or P700 Pro to a PC Computer?
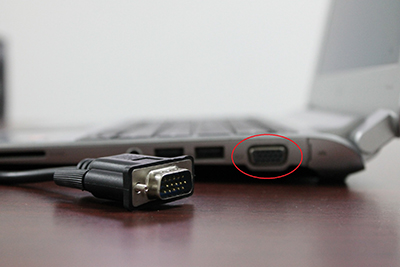
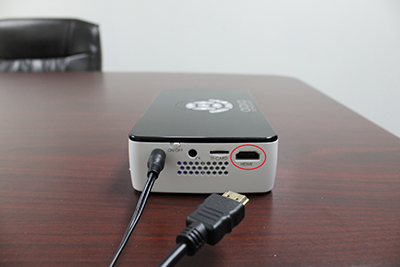
1. Using either the supplied VGA cable or a standard HDMI cable, connect each end of the cables to each the P700 or P700 Pro and your computer.

2. Once connected, turn on the P700 or P700 Pro. On the menu screen, select the external input cable option.
3. Then, select the HDMI or VGA option depending on how you have connected it.
4. On your computer screen, it may have already automatically connected through the HDMI, but you can adjust the setting to fit your needs. If you have Windows 7, press and hold down the Windows Key (the key with a windows flag) and then while holding down that key, press "P". You can then set it the following ways:
• Computer Only - Disconnect your projecting screen
• Duplicate - Mirror your computer screen with what's projecting
• Extend - Make the projection an extension of your computer screen
• Projector Only - Only operate your computer on the projected screen and nothing on your computer screen
5. Your P700 or P700 Pro is now a second screen to your computer!